Markdown Editor
Oxygen XML Editor offers an in-depth Markdown authoring and publishing experience. It is possible to combine Markdown and other type of documents (e.g. MS Word or DITA) into a single publication.
Markdown was created as a lightweight markup language with plain text formatting syntax that is very easy to read and write. It is often used by content contributors and subject matter experts (e.g. engineers) who want a quick and easy way to write content. Using Oxygen, you can publish your Markdown content to:
Markdown Editing Support
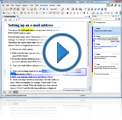
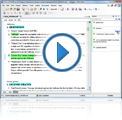
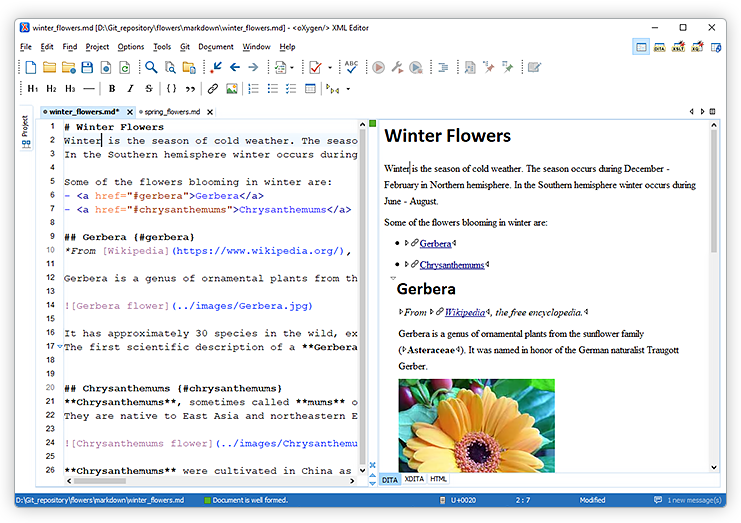
Oxygen offers a simple, dynamic, and intuitive editor for writing and converting Markdown content. While you are editing Markdown in Oxygen XML Editor, a preview pane shows how the content appears in HTML or DITA. Additionally, this preview pane offers validation checking to ensure that your Markdown syntax is correct.
Aggregating Markdown Files into a Publication
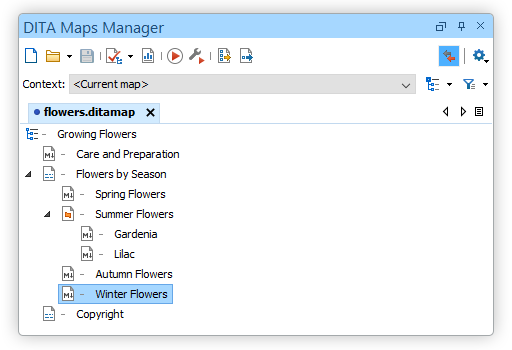
You can also switch to the DITA Maps Manager to offer a visual representation of your DITA map and provide navigation and other features. You can use the DITA Maps Manager to drag and drop the topics into the hierarchical arrangement or work directly with the DITA map using XML tags. You can see how topics are nested more clearly with the Maps Manager view.
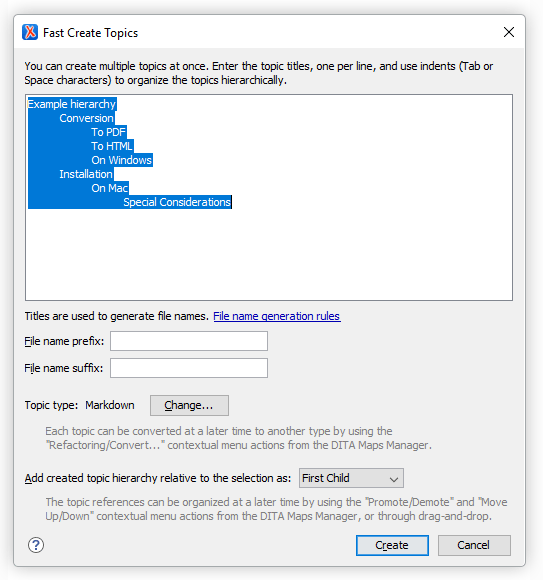
You can also easily create multiple Markdown topics at once and you can specify their hierarchical structure within the DITA map. A common use-case for using this feature is when you need to insert a new chapter or section that will include multiple topics and you have the structure and titles planned out in advance.
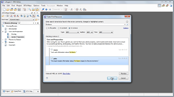
To access this feature, right-click a node in the DITA Maps Manager where you want the new topics to be inserted and select Fast Create Topics. This opens the Fast Create Topics dialog box where you can configure the structure for the new topics.
Working with Markdown Documents in DITA
Oxygen XML Editor includes some unique features that allow you to easily integrate Markdown documents into a DITA project. This is especially helpful for teams that have contributors who are familiar with the Markdown syntax, but they want their output to be generated from DITA projects.
Combine DITA and Markdown in the Same Project
One advantage of combining different formats into one project is that technical writers might write content in one format (e.g. DITA) while engineers might write content in another format (e.g. Markdown). While external authors can have simpler requirements that can be met with just Markdown, technical writers frequently have to deal with more complicated publishing difficulties and DITA would be more appropriate.
You can reference Markdown files alongside DITA files in your DITA maps. You can use Markdown for certain content and DITA for other content within the same project.
Convert Markdown to DITA
This workflow allows content authors to contribute Markdown content, which tech writers would subsequently transform into DITA when they merge it into their projects and use advanced reuse features.
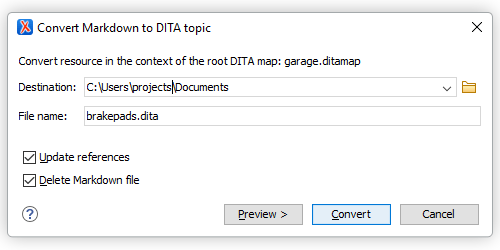
Technical writers would need to convert Markdown files to DITA each time. The DITA file might be converted back to Markdown for the contributor if they need to make a later modification and prefer to work in that format.
Publishing
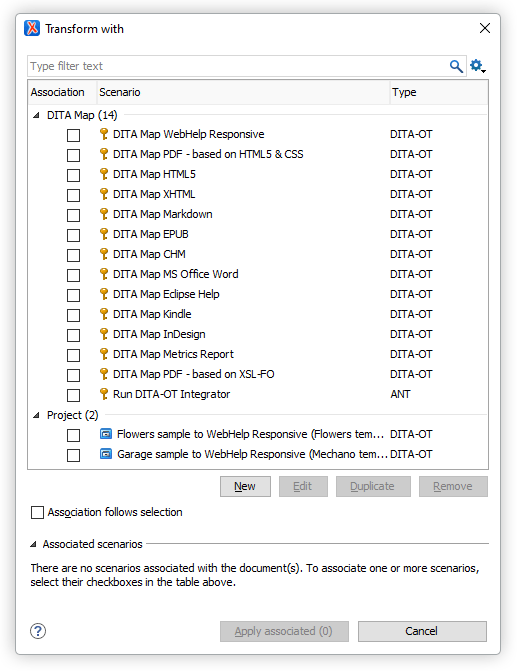
You can use several readily available outputs for your content, including WebHelp and PDF output. You can see all of the output formats that are available by selecting a DITA map file in your project and then clicking the Apply Transformation Scenario(s) button. These outputs include numerous types, such as WebHelp, PDF, EPUB, Kindle, Word, and more.
Git Client Integration
Although you can manage your files with Git using an external terminal, Oxygen XML Editor offers interaction with Git directly in the editor by using the Git Client Add-on.
After installing the Git Client Add-on, a new Git Staging view is available:
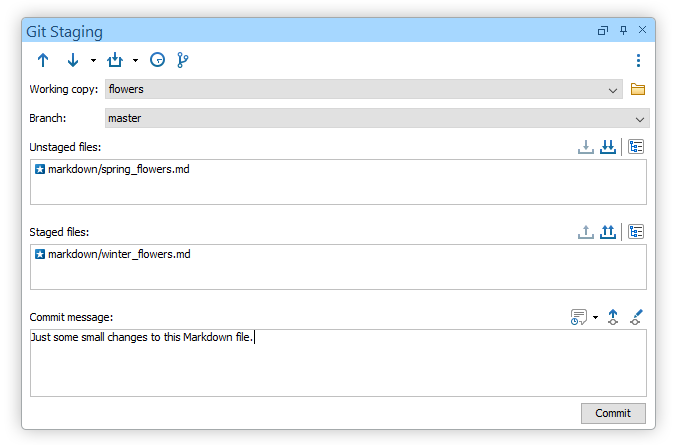
Your modified files that have not yet been uploaded to Git staging area are displayed in the Unstaged files section. You can click the Stage button after choosing the files you want to stage to move them to your staging directory. The file then appears in the Staged files area and you can easily commit your changes along with a commit message and then push them to your Git repository.